The Little House (Montessori)

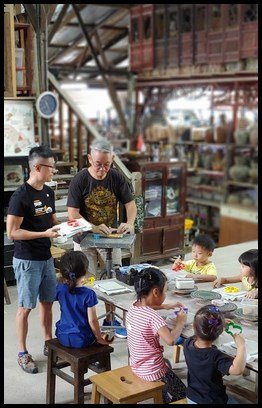
Mr Tan gave a brief introduction of the company and explained to the children the process of pottery making.
Mr Tan also introduced the children to the 'Dragon Kiln', the oldest and one of the two kilns in Singapore. It is called the 'Dragon Kiln' due to its long body shape and the firebox at the 'mouth' of the kiln.
Mr Tan explained that the temperature in the kiln needs to be 1260 degree Celsius to turn the clay into ceramic and that it takes about 30 hours to reach the required temperature.
The children were also shown pictures of pottery before they were fired in the kiln and after it had cooled. The children could see that the colours had deepened and the glaze shined through.
The children had the opportunity to walk into the "Dragon Kiln' to have a look inside.
The kiln is built on an ascending gradient towards the end so that the hot air from the firebox at the mouth of the kiln can travel upwards throughout the body to heat up the pottery.
The 'tail' is a chimney where the smoke will rise out from.
The children also watched a demonstration by Mr Lee and Ms Stella on how a bowl is made using clay on a potter's wheel.
Mr Lee used a fishing line to cut the finished bowl from the potter's wheel.
Mr Lee also explained how he controlled the spin of the potter's wheel by stepping on a pedal which was placed below the table.
Ms Stella, who is a third generation family member of Thow Kwang Pottery, showed the children some ceramic picture frames that they would be making on their own.
Mr Tan explained to the children how they would go about making their own picture frames.
The children took turns to collect their own clay.
The children waited excitedly to start making their own picture frames.
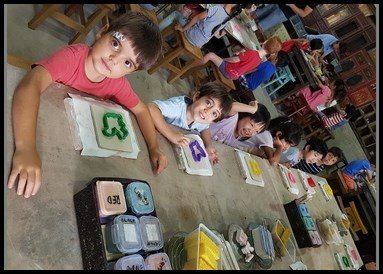
Cookie cutters were distributed to the children to cut out the inner shape of their frames.
Mr Tan then explained to the children how to 'paste' the smaller shapes on the frames. A thin wooden stick with a sharp end was used to make small crosses on the back of the shapes to be pasted and on the part of the frame where the shapes are to be pasted. A glue-like substance called 'slip' was then applied to the back of the shapes and pasted onto the frame.
Smaller cookie cutters were also used to cut out shapes to be 'pasted' on top of the frames.
Stamps were also distributed to the children to make various imprints and textures on the frame.
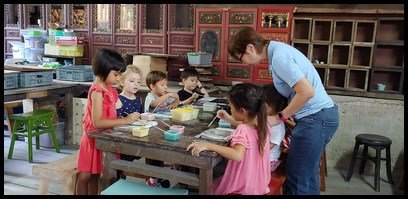
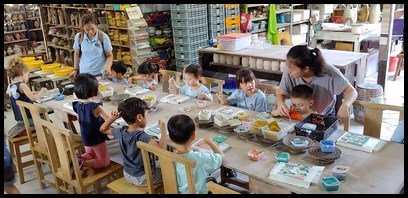
The children were then shown how to add coloured glaze onto their frames.
The children had a great time making their very own picture frames!


